
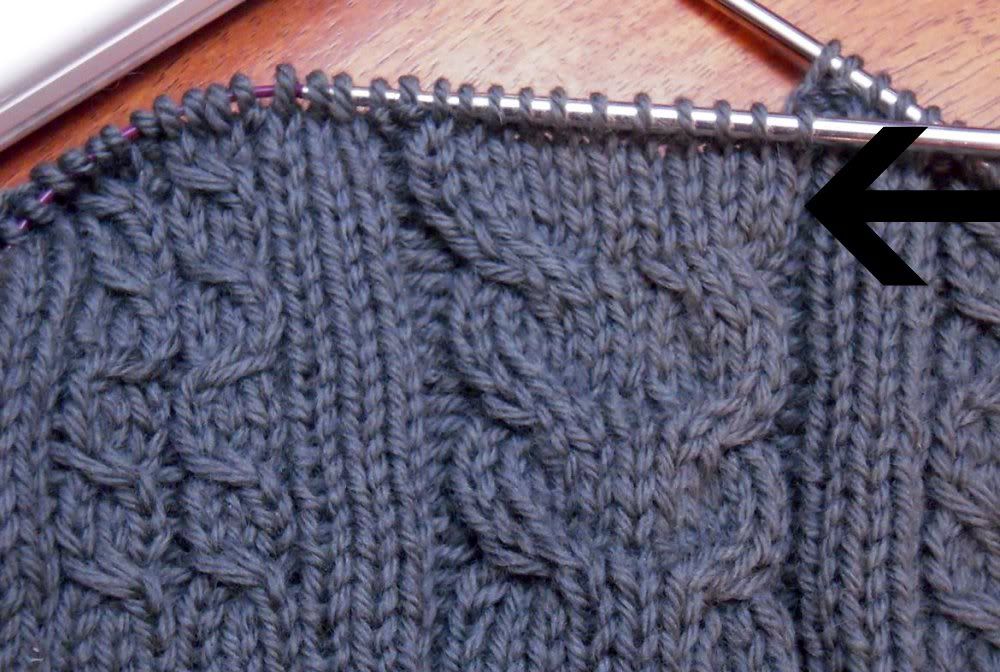
See that? Right there next to the arrow? Where there SHOULD be a cable? But there's NOT?!? Ah FUXX! Did you curse too? Awww, how sweet. Thanks. I feel better. SO this is what happens when I get a bit cocky and knit cables while watching an intense tv show. At least I noticed before going any further. I promptly cursed, picked up the damn sock I should have been knitting during that show anyway, cursed again and put the cabled mess in timeout. While telling my friend my troubles (and you guessed it, cursing a little bit), this wise woman told me that you could FIX it without frogging it back. Well, I knew in theory you could fix anything in knitting, but my usual mode is to curse, frog, and reknit. She gave me step by step directions and I thought I'd try it out and document it.
If you already know all this, I apologize. If not, HOW COOL IS THIS???? (you can click on the pics to see larger versions if you'd like). I figured I had nothing to lose frogging back part of the piece, as I would have to frog the whole dang thing otherwise.
The first step is to breathe calmly and put the offending object away until you can deal with it in a non-aggressive manner. I gave my project about 3 days to simmer.
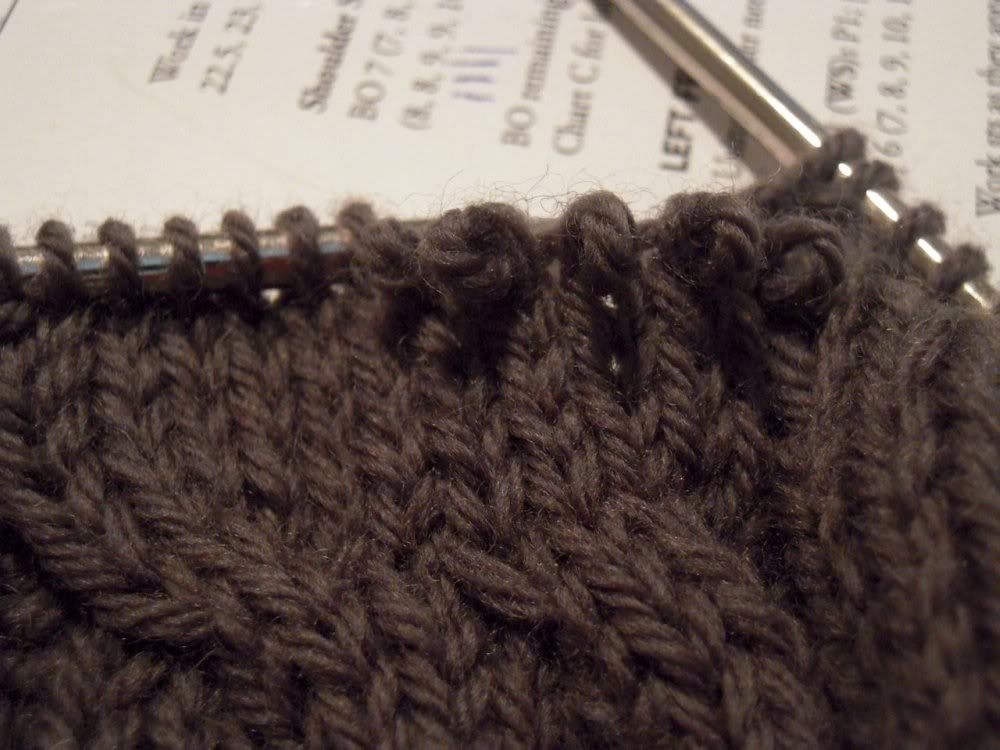
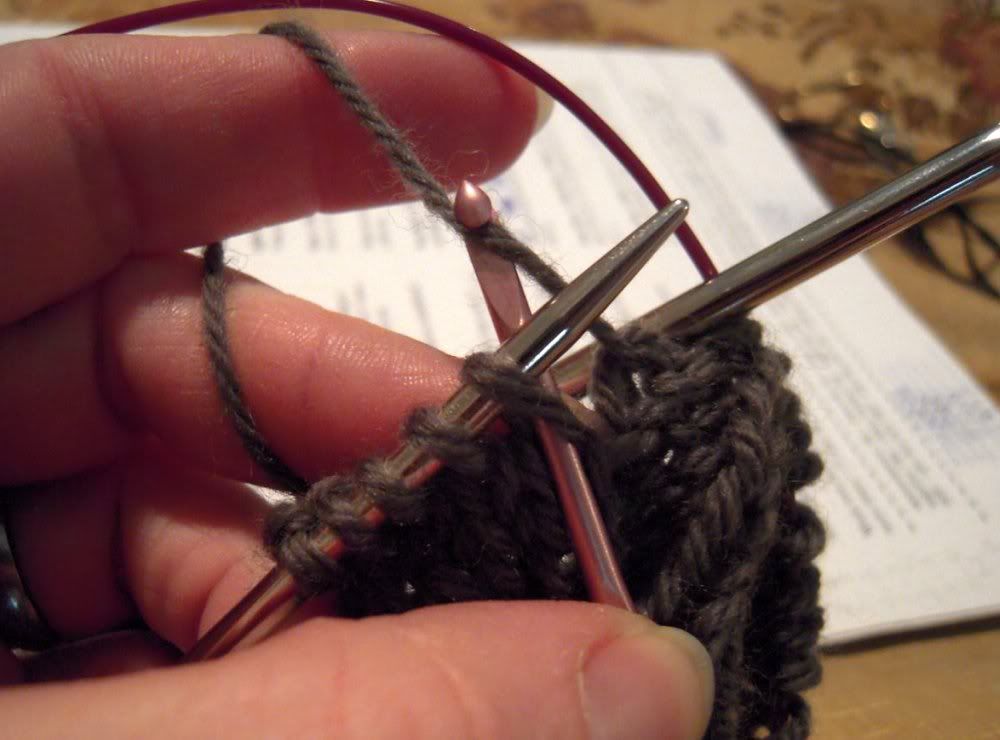
Next step, determine how many stitches you need to rework. If it's a normal cable, drop stitches from purl bump to purl bump. This one was a horseshoe thing, so the actual cabling part was the first 5 stitches after cable bumps. Work to that point on the row and DROP THOSE STITCHES. It's not scary. They don't go running down. I promise. See? They just sit there patiently. I actually had to use a double point needle to encourage the buggars to unknit themselves all the way to the point where the cable was supposed to be.
Now put those little stitches (5 in my case) on a needle (I find dpns SO GREAT for this). Get them all lined up properly, no twisted stitches. Pull all those loose ladders of yarn up out of your way.
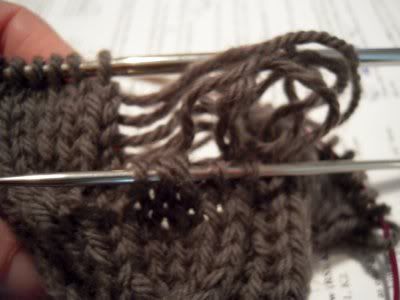
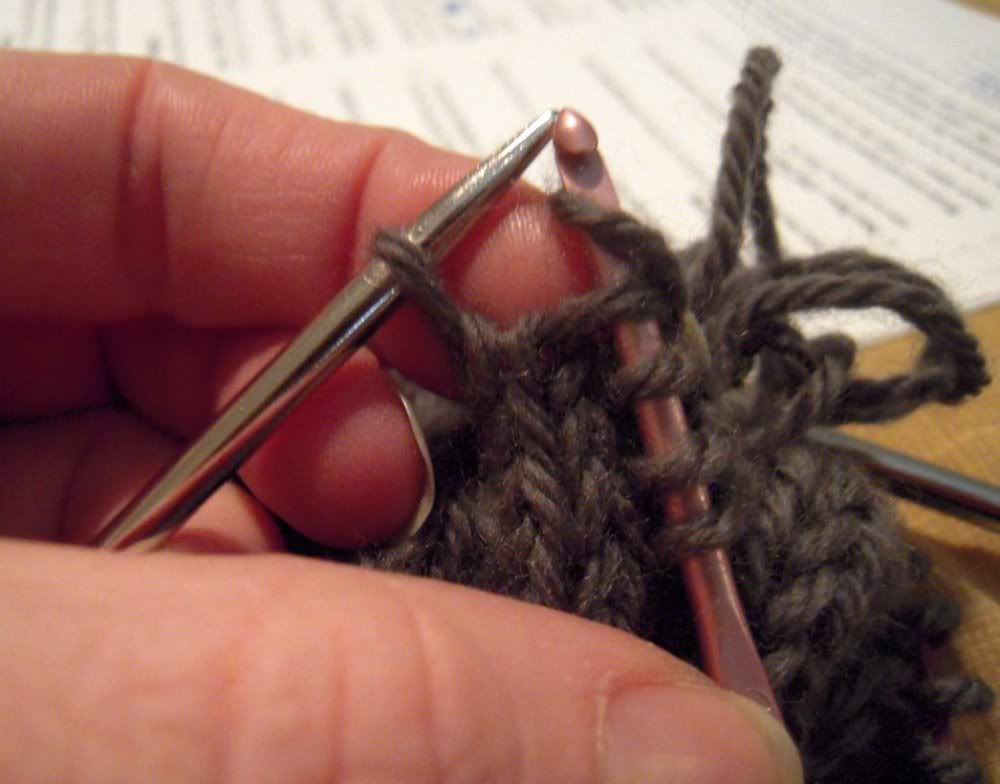
Another great tool to use is an itty bitty crochet hook. You're going to be working your way up each 5 stitch row using the next closest yarn loose flappy ladder piece. There's gotta be technical terms for this stuff, I just haven't heard any. SO just like when you drop ONE stitch, use the crochet hook to pull the loose flappy bit through each stitch on your dpn. I think it's easiest if I work the whole row onto the crochet hook, then transfer them to a dpn for the next row.
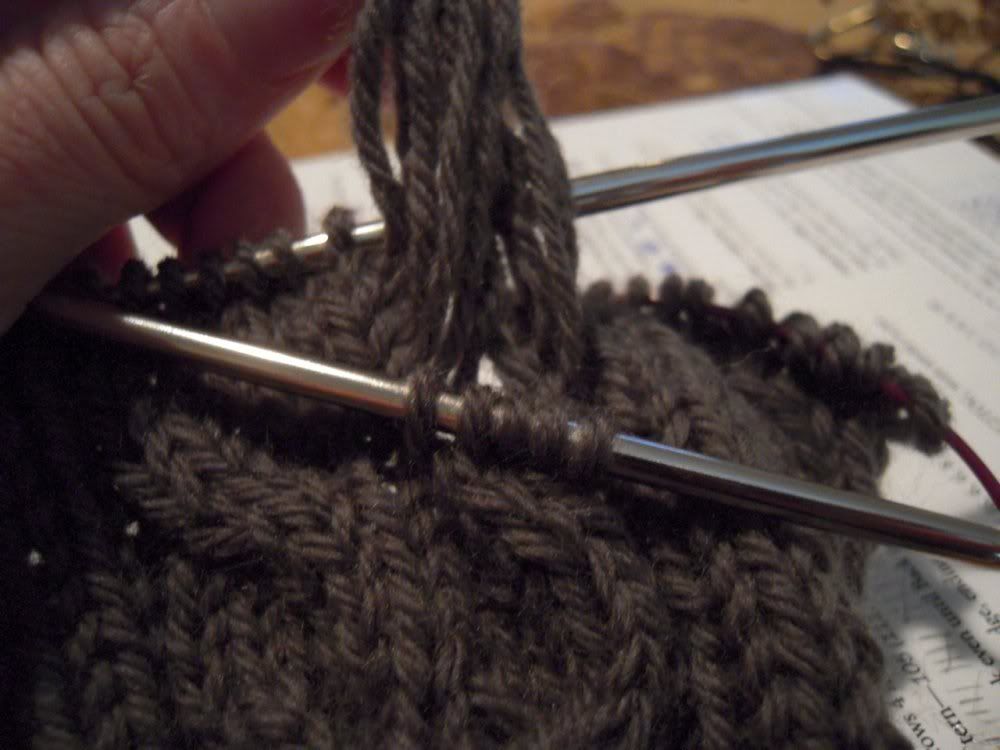
When working the cabled row, just work the stitches in the order you were SUPPOSED to have done it in. For example, I was supposed to hang the first 3 stitches behind and work the next two stitches as knits, then knit those 3. I used a cable needle to hang them back out of the way, used my crochet hook to work those last 2 stitches, then the 3 from the cable needle. Voila! A cable where it should be! Then just work your way up the piece one row at a time working from right to left from the front side each row.
Now, sit back and admire your amazing knitter skillz. I didn't even bothering walking around after my family showing them my genius. (They've learned to nod, smile and back away slowly long ago). If things are a bit wonky, you can adjust the tension a few stitches to each side. If you don't like the look of it, frog the whole thing back and reknit it regular style. I was surprised that by using basically the same tension on my ladder pulled-through stitches as my usual knitting I didn't have to do much more than yank on the thing once or twice and it looks pretty darned good.

YAY!! Try this fix the next time you end up with a complicated scary thing messed up in your knitting. I was amazed!
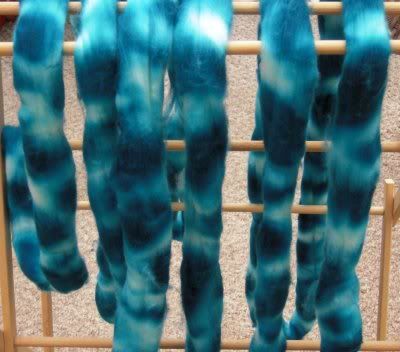
And, since that's a heck of a lot of drab green to be viewing, here's a shot of my newest fiber (which I'm keeping all for ME!) I've hit on a pretty cool tie dye method on superwash merino that, quite simply, ROCKS! I heart it verrah much. I think it should spin up dreamy and can't wait to see how it plies up.
Happy Weekend everyone!


|