
OK, introducing my very favoritest darning method ever, the WOVEN DARN! YAY! I use this baby all the time for patching up holes on the bottom of my socks. It works on holes and weak spots both. When done in the same sockyarn, it blends right in.
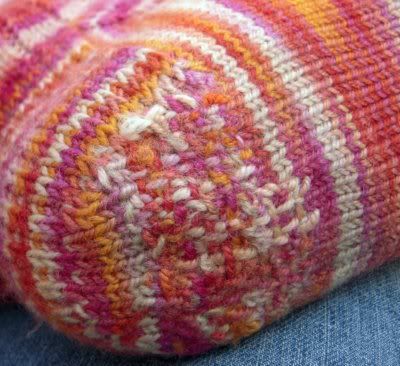
I'll use different yarn so my stitches stand out (and because I can't find any more of the original yarn and I don't really care that the bottom of my feet have different colored patches).
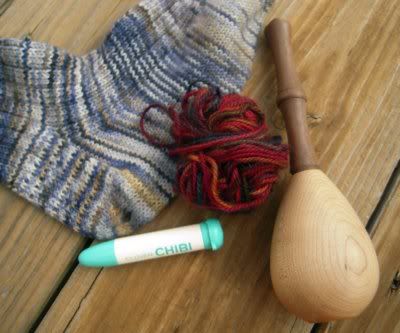
Gather your supplies...sock with a hole, sockyarn scraps of same yarn or similar colors out of same fiber content, darning needle, scissors, and darning egg or bouncy ball. Some people say to use a light bulb, but even typing that gave me chills. ICK it sounds like fingernails on the chalkboard!!
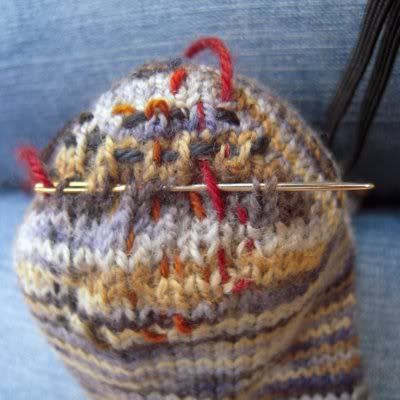
Leaving a 3-4" tail, begin a few rows below and work into a few rows past the hole.
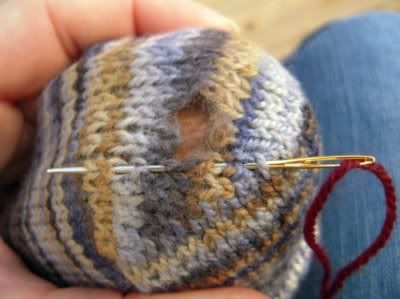
Stitch strands up and down to use as a weaving base. I'm sure there's a name for that...warp? weave? It starts with a "W" but I just do this by the seat of my pants.
Now also working a few stitches into the good sock past the hole, weave your needle side to side going over and under the yarn strands and any existing stitches.
I should warn any official weavers to turn away now or the imprecise photos to follow may make your eyes bleed. Just. Look. Away. This is crappy weaving, but it's fast, it's effective and I love it!
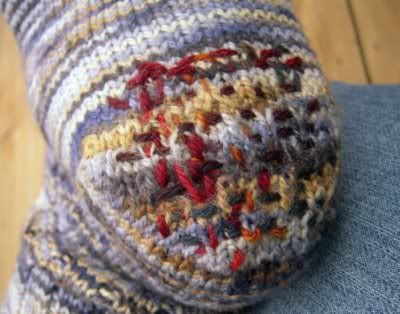
Keep working back and forth until you fill up the stitches well, then rotate the sock and weave up and down filling in more strands and strength, virtually weaving a patch right over the hole. You need to make sure to always go 3 to 4 stitches into the good stitches at the sides of the holes to anchor the patch and not cause larger holes in the future.
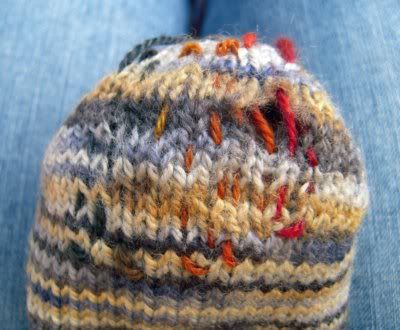
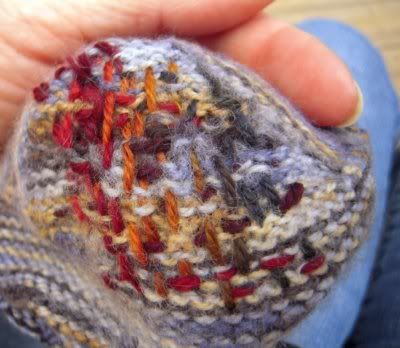
Here's the inside view. Weave in your ends on the inside across and through the patch diagonally, up and down or whatever crazy way you like. It just adds to the strength and texture of the patch!
Even though I've used conrasting yarn, you can't tell to look at my foot from the side or back. Only visible if I turn my foot upside down!
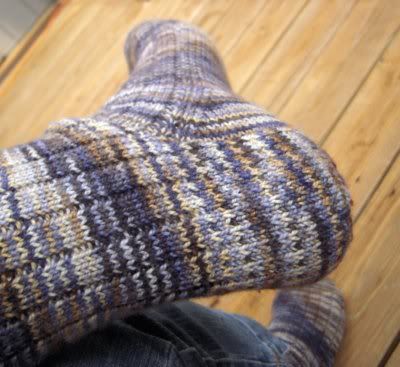
YAY ME! After about 15 minutes of work, I've saved this fabulous pair of socks from the trash bin!


|